Wednesday, November 30, 2011

Day 13 of 25 days of Christmas Crafts

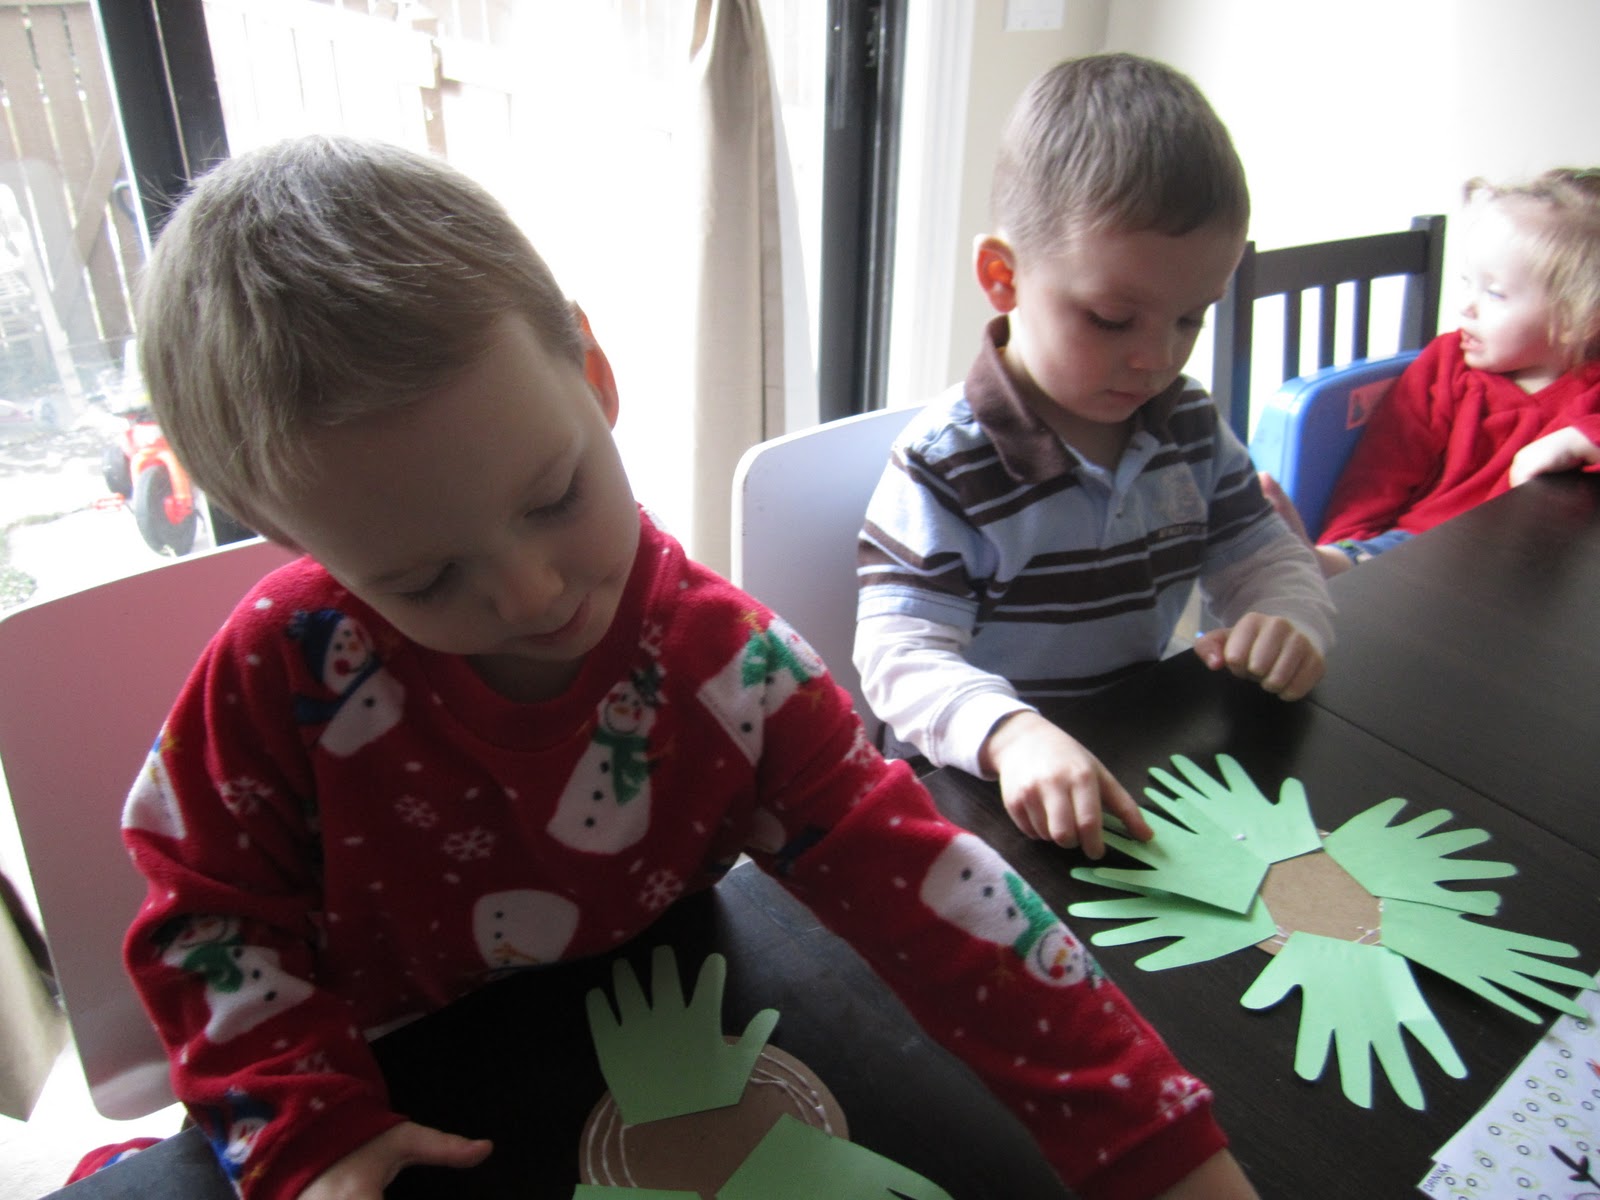
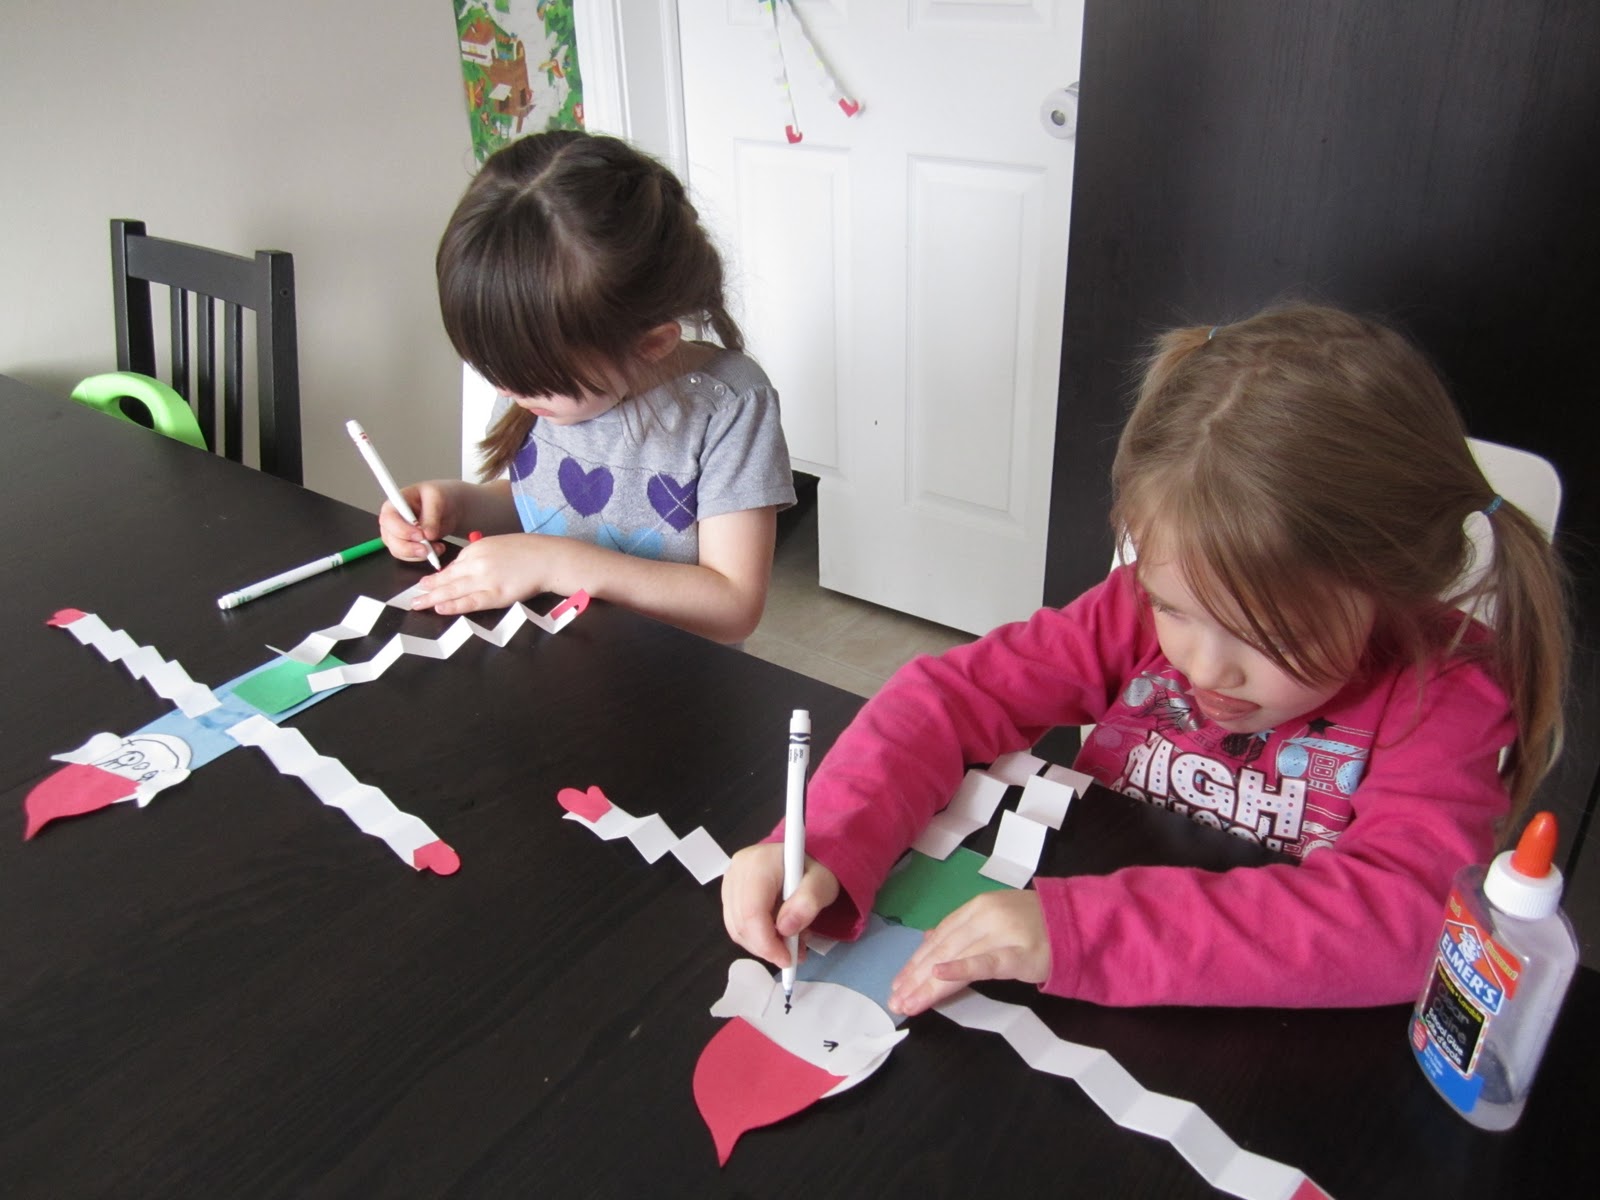
Well, we are over the half way point! I can't believe tomorrow is December 1! 

Today we made heart reindeer puppets. It was an easy, quick craft for all ages! 

I cut out 3 heart shapes per child- one of those being a little bigger than the other 2, but not by much! Then, I also cut out eyes and a nose with the foam paper. But, you could use googly eyes and pom poms. And then I got the glue! 

 The kids first glued the two smaller hearts onto the bigger one- at the top, for the antlers. 
 Then, we glued on the eyes and nose. 
 Once those are dry, we will add a popsicle stick, so the kids can use them as puppets! You could also add a ribbon and use them as gift tags or hang on the tree! 

Tuesday, November 29, 2011

Day 12 of 25 Christmas crafts

Today is day 12 of 25 Christmas crafts, and today, we used our finger prints to make lights on a Christmas tree!

First I got some white paper, and the paints.

 Then, the kids used their fingers to put "lights" all over the page! 

 We let them dry for awhile, and then cut them into tree shapes, and used markers to "connect the dots", making it look like stringed up Christmas lights! 


Monday, November 28, 2011

Day 11 of 25 Christmas Crafts

Today we were doing crafts with jingle bells. Since I had a million little bells, and only my two kids, we did two jingle bell crafts. So, I guess I could call today, Day 11a and 11b of Christmas Crafts!

First, we made a bell for them to hold and ring. I first cut paper, so we could make a cone with it. I got some markers, and Christmas stickers. Then some string, and the bells, and also needed some tape!


The kids decorated the paper with the markers and the stickers. 


 Then we shaped it for the bell. We strung some bells onto the string, and pulled it through the top of the cone. Then taped that in place. 


 After we made our bells, we used some of the rest of the bells to make jingle bell bracelets. I got out some elastic that I have, you can use regular yarn or string. And we just laced the bells on. Then tied it up! The kids were wearing them all afternoon! 


Friday, November 25, 2011

Day 10 of 25 Christmas Crafts

For the 10th craft, we made hand print wreaths. 

First I traced and cut out the kids hands, and some "berries", also some circles out of cardboard. 

 Then the kids glued their handprints to the cardboard circle, all the way around- with fingers pointing out. If you can, do some layers. 


 After that, they put some decorations on their wreaths- snowmen, snowflakes and the "berries". 


And then we had our wreaths! 


Thursday, November 24, 2011

Free Craft Thursday

Today, the kids and I went to the mall. We actually bought our Christmas tree- we needed a new fake one! So, it made sense that when we got home, we made ornaments (no, the tree is not going up yet!).

I had bought some plastic ornaments from oriental trading, but I wasn't sure what I was going to do with them. We talked about putting different things in them (they open)- like cotton balls, sparkles, ripped coloured paper, tin foil, etc. But, we finally decided on painting them. I only had tempera paint in Christmas colours, so, I also added some glue. Then, of course, we added sparkles.

Basically, I opened the ornament balls, and put some white glue in. Then a bit of paint, and we shook some sparkles in. Then the kids painted all around the insides. After they were done, we put a "hanger" on them using pipe cleaners.

We did do one ornament per child at a time, and used one paint brush per colour- mainly to keep the ornaments looking festive and not- brown/black!


Wednesday, November 23, 2011

Day 9 of 25 Christmas Crafts

Today was another Christmas Tree day! But, today, we used our feet! 

I cut different shapes out of paper, some for ornaments on the tree, and some for gifts under it! Then I got some green paint and paint brush, finger paint paper and glue! 

 First we painted the kids feet. First I put them on the way they would go- left on the left, right on the right (if that makes sense). Then I realized it would look better if I did it the opposites! (like on the two bigger feet papers). 
 After those dried, we started gluing on the shapes. First the star at the top, and then the decorations and the presents! 

 And Merry Christmas! 


Tuesday, November 22, 2011

Day 8 of 25 Christmas Crafts

Today we made Paper chain Christmas Cards. These did take some adult help, and some improvising along the way, but we did it! 

First, I cut all the strips of paper we needed. Collected those with some tape and markers. (you will also need some glue and a piece of paper- explanation below!)


Then, the kids coloured on each strip of green paper- making "decorations" on them. 


After the colouring was done, we started making the chain. After trying a couple times, this is where I realized we would need a TON of links to make it just hang, so, we decided to glue them to paper too! So, I pulled out the glue and a red sheet of paper for each of the kids. 

After we got the shape right with the links, we put some glue all over the paper and then glued our trees in  position on the paper! 

With this- you could decorate many different ways- stickers, glitter, pom poms etc. Anything really that looks like you could find it on a Christmas tree. Just make sure it isn't too heavy and would weigh down the paper chain. 

Monday, November 21, 2011

Day 7 of 25 Christmas Crafts

Today, I just had the 2 younger kids. So, we made muffin cup Christmas trees. They are really easy, and good for any age.

First I gathered everything we needed- muffin cups (white), glue, markers, a piece of paper and glitter glue. I only collected 6 muffin cups for each of them, but depending on the age of the child, or the size of tree you would like, you can do way more!


 We then glued the muffin cups to the paper, in a tree (triangle) shape. 
 Then they set to work colouring the muffin cups. Like I said, these were the youngest two. I am sure if the older 2 would have been here, we would have had much more colour! So, use you imaginations! 
 After they were done colouring, we added some sparkle, because- well it isn't a Christmas tree without sparkle! We used Glitter glue. You could also take this time to glue on "decorations"- pom poms, bells etc would be great. 


Friday, November 18, 2011

Day 6 of 25 days of Christmas Crafts

Today we made Elves. We have been talking about adopting an Elf lately- little do the kids know, our Elf has shown up and will make his debut appearance tomorrow morning (Thanks Andrea!). So, today, we made Elves!

First I cut many different shapes to make the Elf's body- a rectangle, circle, long rectangles, then a hat, pants or skirt, boots, mitts, and ears! I got some glue and some markers and we set to it!

 The kids started by gluing on their elf's dress/pants, and head. Then the hat. After we glued all of that one, we fan folded the legs and arms, and then glued those on. To the arms and legs we added the boots and mitts. 


 Once we were done with that gluing, we talked about how Santa is only one person, and he needs help. So, it is the Elves jobs to help Santa out. They help Santa by watching kids and reporting back to him. So, our Elves need eyes and ears. We glued on the ear shapes and then the kids drew on the face. 

 Then, they got to colour their Elf! 

 I also had another idea for Christmas words. The kids have been colouring pictures a lot lately, and are really interested in spelling different words. So, I wrote out some words that they have really been asking for lately. I then taped it up on the wall by the table, so now, they can just look on the wall and spell the words they are looking for!