Showing posts with label hand print. Show all posts

Friday, November 16, 2012

Snow Family Plaque

It has been a VERY long time since I posted any crafts. We got very busy, and then had a computer issue! Now that things have calmed down, and the computer is fixed, we are back! I am happy about this, because we are getting to my favourite time of year- for many reasons, and one is because of the crafts that we do together! 

Today and this coming week, we are focusing on Snow people. Then we will move into our Christmas crafts! I don't want to rush the holidays, but there are so many things to do, and so much fun to be had! So, we will be starting out holiday fun on Monday November 26th. We decorate our house on the weekend closest to the 26th, and that will be when the fun crafts and activities begin. 

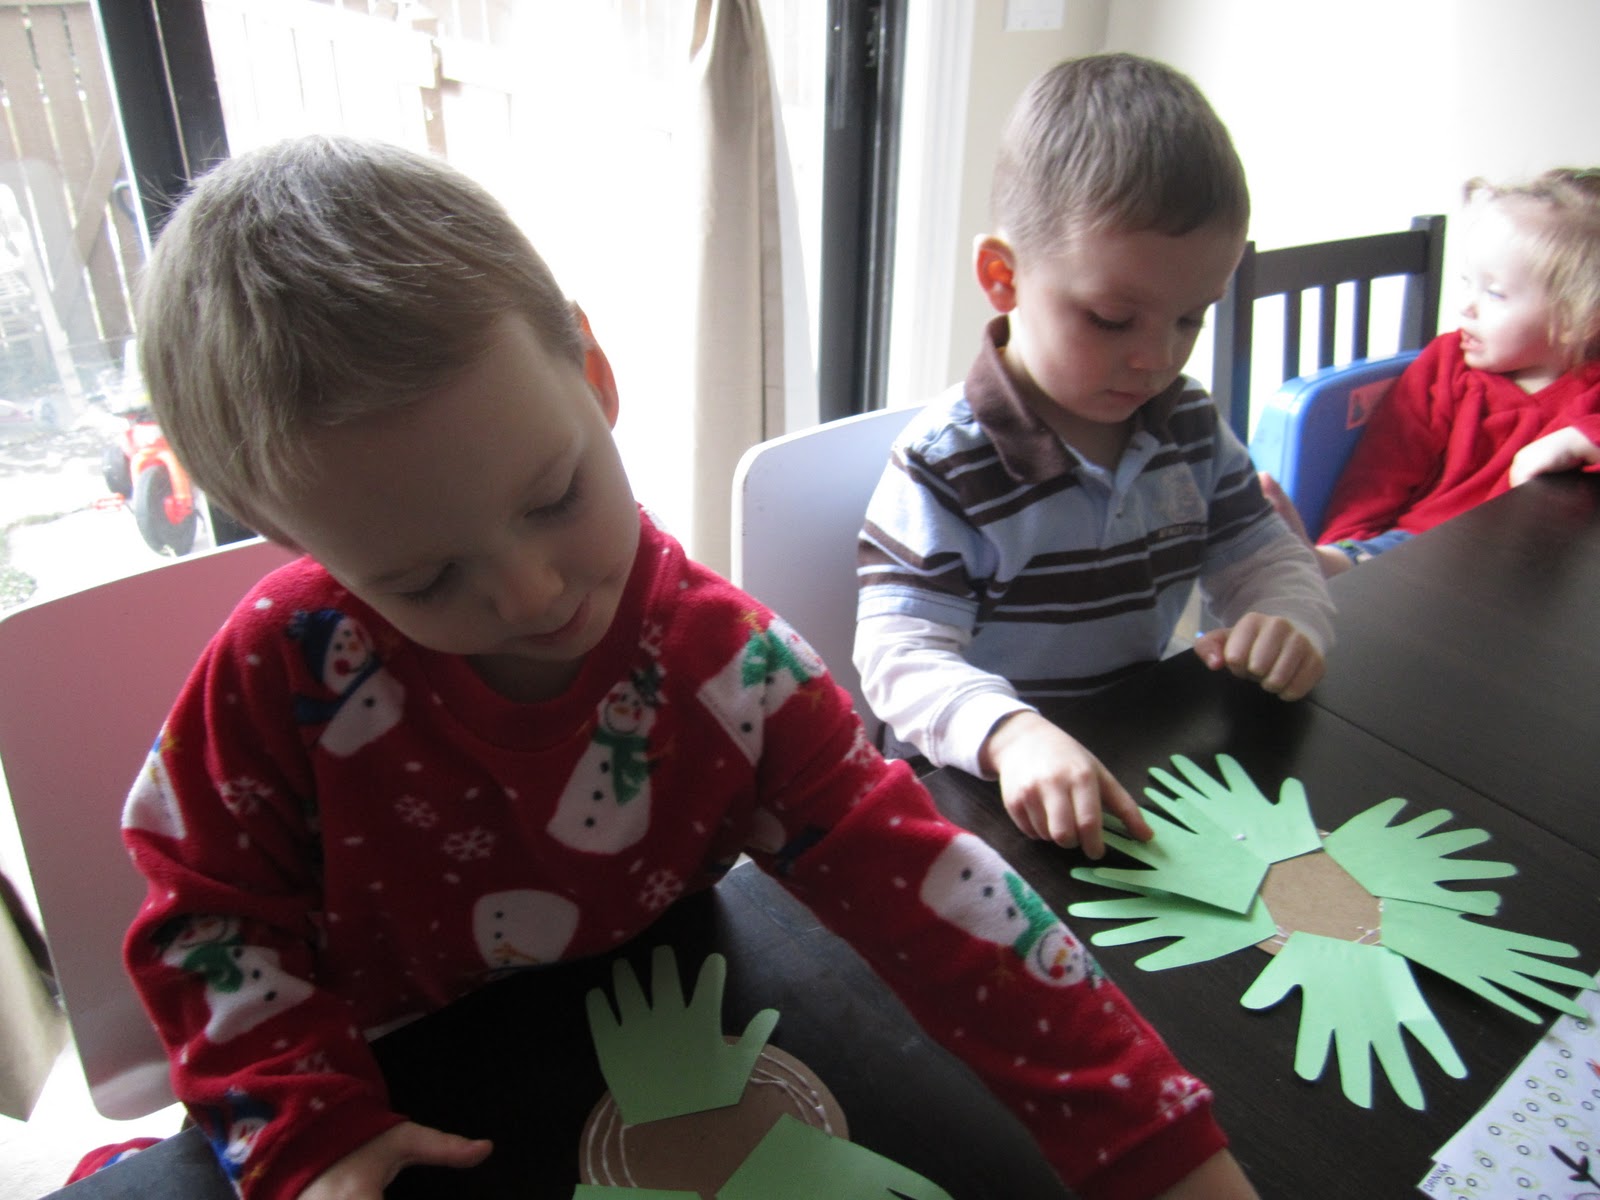
As I mentioned, today we made a snow people plaque. The kids love this and it is a great addition to the decorations around the house. We needed one circle made from paper, and one from cardboard- we used cereal boxes. Then, I traced their fingers for the snow family. To make sure this fit on the circle, I traced half circles with the same plate I used for the big circles. Then I traced their fingers in the middle of the circle, and made a "hill" connecting them to the half circle. Then we cut those out. 


You will also need some markers, glue and something to hang the plaque- like ribbon! 

The kids first glued the snow family to the paper circle, and then they decorated their snow family. After that they did the "winter sky"- with snow flakes.


Once they are done decorating, we glued that circle onto the cardboard circle. Then we wrote "There is SNOW place like HOME" on it, and added the ribbon to hang them with! 


The kids thought it was very cool that their fingers made the snow family! Each child has 4 people in their family, so we only did 4- but of course you could trace as many fingers as you needed to make your own family! 


Tuesday, September 18, 2012

Fall trees

With Fall right around the corner, our community is very golden, and full of falling leaves. The kids are so excited, because with fall comes things like Thanksgiving, and Halloween! (and of course, closer to Christmas). So, today we did something that I try to do each year- just so I have them all to keep! We made hand/finger print trees. The kids love doing this, because they get to get messy!

Early this morning, I painted their hands, and down their arms a bit- in brown. Then we pressed them onto the paper. While we let those dry, we read some fall books and sang some fall songs. We talked about all the exciting things that fall brings!

Once the tree trunks and branches (their hands) were dry, we set to work to make it look more like fall!

While we put the paint out, we talked about fall colours. And then, once each child had their "pallet" they started putting their finger prints on their trees!

They all have a great time watching their hand print become a tree, and also getting very messy!


Wednesday, March 28, 2012

EASTER!!!!

Yay! Another holiday is here. I love doing crafts with the kids, but really enjoy it when it is for a holiday! So, we were all very excited to get started on some Easter crafts this week.

I didn't have time to post yesterday, so there are two in this post.

The first one is a hatching chick. You can do this many ways, and with many different supplies, but this is what we used. A piece of finger paint paper cut in an egg shape. A piece of yellow construction paper cut in an egg shape as well (with a chick face drawn on it- because this will be the hatched chick!). Finger paint, glue, and markers.


We also used some paper fasteners too!

First the kids coloured the chick.

And then we finger painted the egg, using some Spring colours


After those dried, we cut the "egg", and glued the chick onto the bottom part of the egg.

Using the paper fasteners, we put the top and bottom of the egg back together, so it can open and shut.

TaDa, all the kids hatching eggs!


And then today, we made handprint chicks. These can be changed for many different "characters" in different seasons, just using different items and colours! 

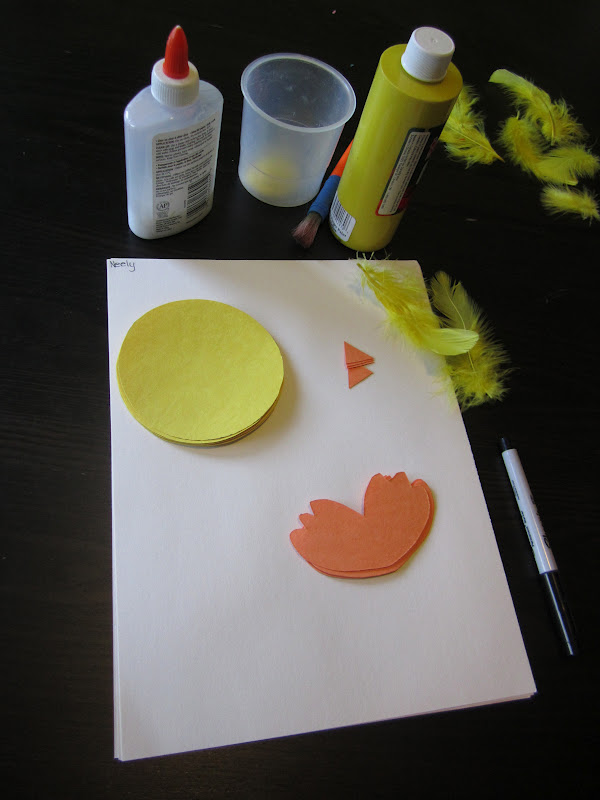
We used yellow construction paper cut into circles (each child will need 2). Orange construction paper cut into a triangle for a beak, and some feet for the chick. We also added some feathers. And you will need some yellow finger paint to do the wings. And also a piece of white paper to glue it all onto! 


We first glued the yellow circles onto the paper. One on top of the other.

Then, we glued on the feet and the beak.


And added some feathers!


The kids used a marker to draw on the face of their chick.

And then we painted our hands to do the wings.


And then we have some hand print chicks!


Friday, November 25, 2011

Day 10 of 25 Christmas Crafts

For the 10th craft, we made hand print wreaths. 

First I traced and cut out the kids hands, and some "berries", also some circles out of cardboard. 

 Then the kids glued their handprints to the cardboard circle, all the way around- with fingers pointing out. If you can, do some layers. 


 After that, they put some decorations on their wreaths- snowmen, snowflakes and the "berries". 


And then we had our wreaths! 


Tuesday, October 4, 2011

Turkey time

It is almost Thanksgiving here! We are so excited and talking about Turkeys! We did a craft yesterday with our hand print and foot print to make a turkey, and today we made magnetic turkey card/recipe holders!

To make the hand and foot print turkeys you will need paper, markers, glue and feathers.

First we traced both our hands and then one foot and cut them out. After that we coloured them.


Once they were all coloured we glued them together. Then added a beak and the "gobbler" part of the turkey. And then added our feathers.


Today we made turkeys that can be used to hold art, recipe cards, cards, etc. We also added magnets so they can stick on the fridge.

For this we needed a circle- cut out of finger paint paper. Finger paint, magnet, clothes pin, a brown rectangle, orange for the beak and feet, and the "gobbler" cut out of red paper. You will also need glue.
 First the kid finger painted the circle- which will be the back of the turkey. Try not to use too much paint!

 Then we put our turkey together. Gluing on the beak, "gobbler", and feet.


Then we added glue to the back of the clothes pin- where we had put the magnet earlier (you can put the magnet on at the same time, or before). We then attached the clothes pin to the circle. Make sure the closing part of the clothes pin is facing up- the middle of the circle. 
Then we added more glue to the top of the clothes pin, and put our turkey on that. 

Then you will have your turkey card holder. Make sure they dry REALLY well before sticking them onto the fridge.