I didn't have time to post yesterday, so there are two in this post.
The first one is a hatching chick. You can do this many ways, and with many different supplies, but this is what we used. A piece of finger paint paper cut in an egg shape. A piece of yellow construction paper cut in an egg shape as well (with a chick face drawn on it- because this will be the hatched chick!). Finger paint, glue, and markers.

We also used some paper fasteners too!

First the kids coloured the chick.

And then we finger painted the egg, using some Spring colours


After those dried, we cut the "egg", and glued the chick onto the bottom part of the egg.

Using the paper fasteners, we put the top and bottom of the egg back together, so it can open and shut.

TaDa, all the kids hatching eggs!

And then today, we made handprint chicks. These can be changed for many different "characters" in different seasons, just using different items and colours!
We used yellow construction paper cut into circles (each child will need 2). Orange construction paper cut into a triangle for a beak, and some feet for the chick. We also added some feathers. And you will need some yellow finger paint to do the wings. And also a piece of white paper to glue it all onto!
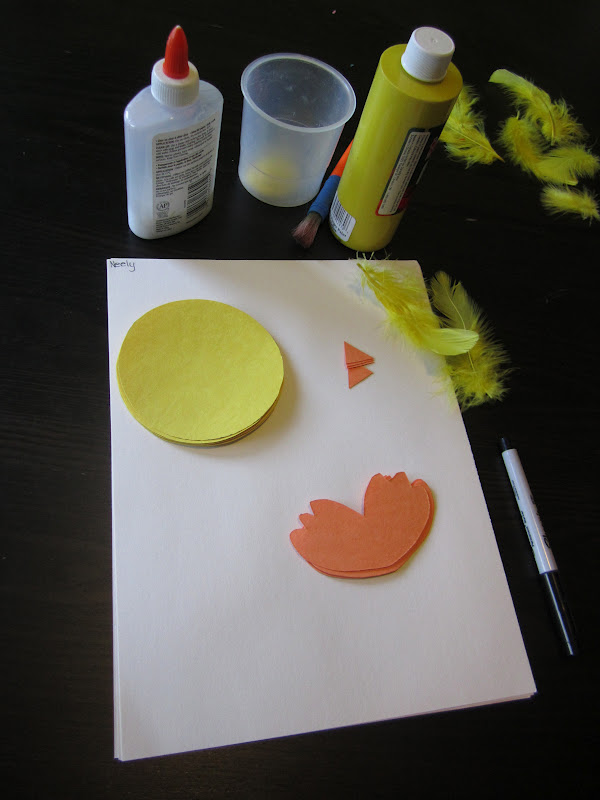
We first glued the yellow circles onto the paper. One on top of the other.

Then, we glued on the feet and the beak.


And added some feathers!


The kids used a marker to draw on the face of their chick.

And then we painted our hands to do the wings.


And then we have some hand print chicks!


