Showing posts with label collage. Show all posts

Wednesday, June 27, 2012

Canada Day

We live in Canada, and this weekend it will be Canada day. So, today, we made Canada Flags and talked a bit about Canada. 

Canada's flag is really, really easy. (well if you don't have to draw out the maple leaf!). But, we used handprints! 

First thing we did was trace out our hands on red paper, and then cut them out, along with a bunch of pieces of red paper! We got the glue, and white paper and started working! 

First the kids glued their hand print to the middle of the paper. 


Then, they started gluing on all the little red pieces to the side, collage style. 


And now, we have our Canada Flags for Canada day! 

Monday, November 14, 2011

Day 3 of 25 Christmas Crafts

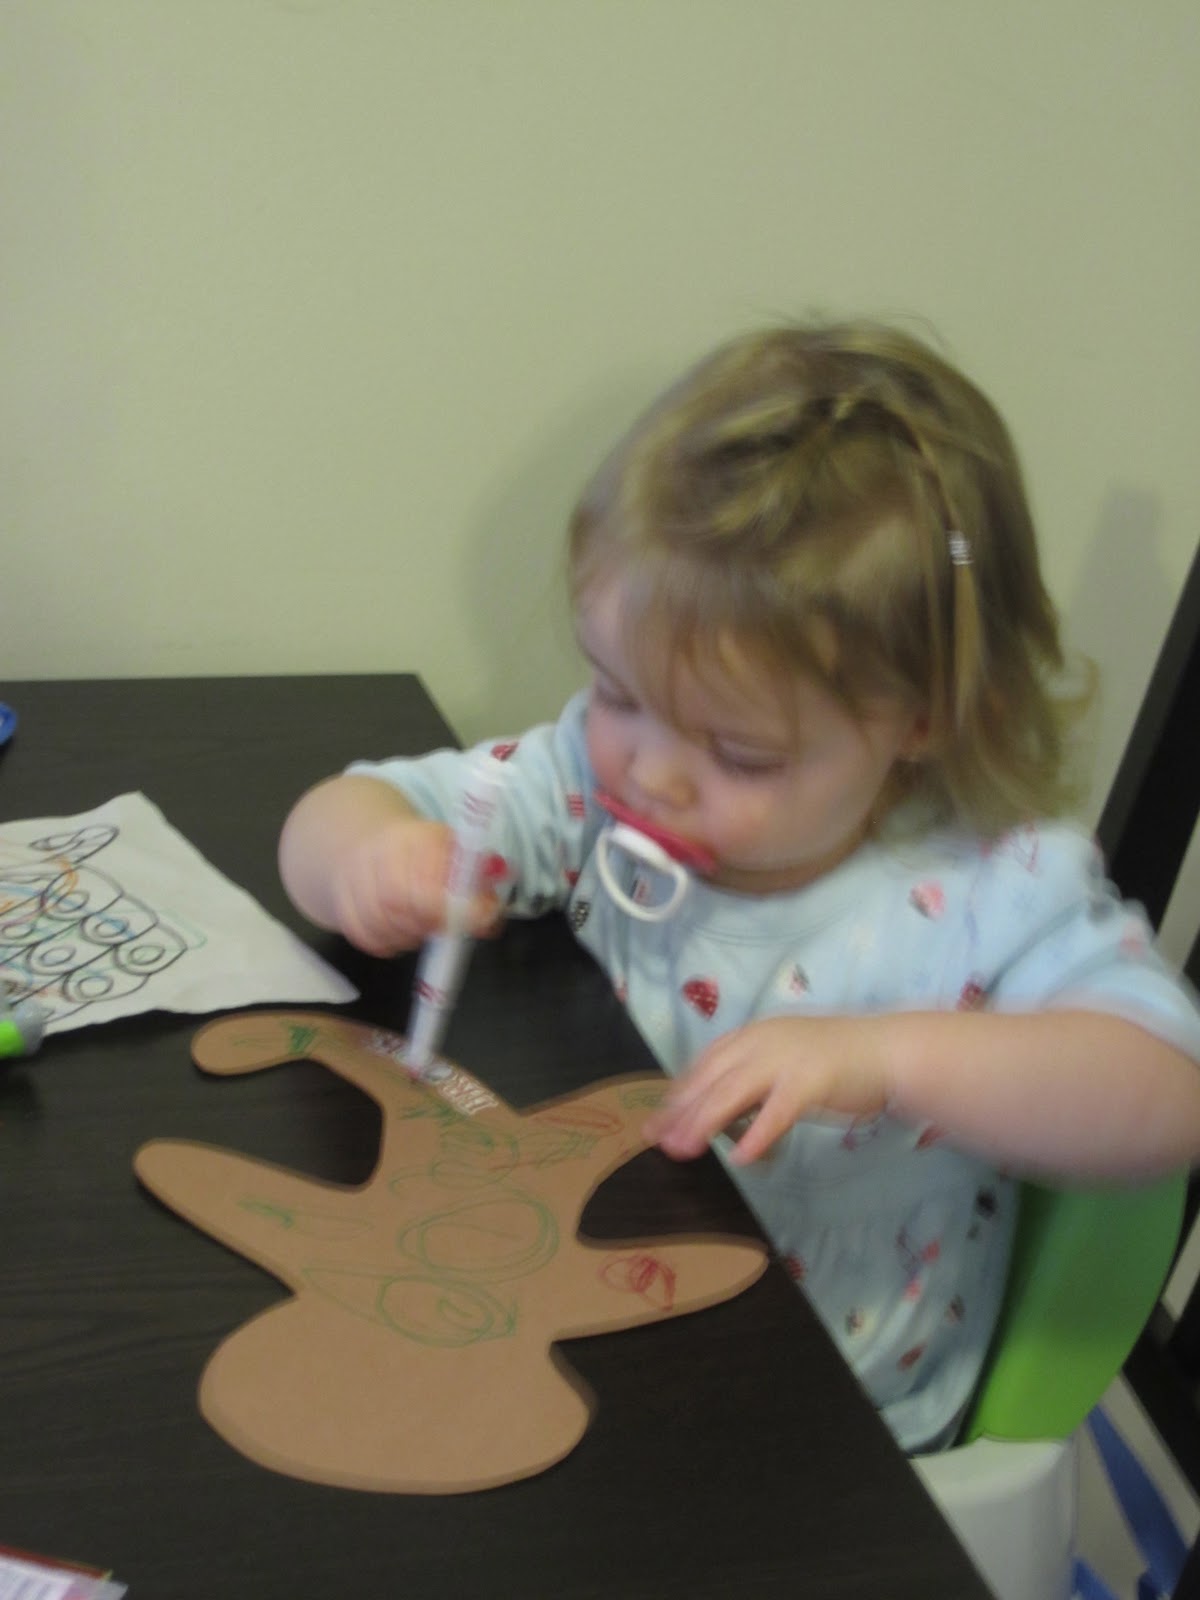
Today is day 3, and the kids decorated Gingerbread men. Well, not the cookie kind- the paper kind.

First I collected what we needed- the men- cut from brown construction paper, markers, stickers, glue, foam shapes, and glitter- pretty much anything you want to decorate them with.


First the kids found the letters in their names with stickers. 


 Then, they coloured all over their gingerbread men.
 After they were done colouring, we glued on the foam shapes (in Christmasy, winter colours). 


Then for the "icing"- the glitter glue! 

I also spent some time this weekend making a felt Christmas tree. I cut the tree out of a large piece of green felt, and then used many different smaller pieces of felt to cut out decorations for the tree. I put it up on the wall with some small pins. The kids have had a great time playing with it. They decorate it, then take the pieces off, and try again! It is going to provide a ton of entertainment this holiday season- for not much money!

Friday, November 4, 2011

Baby, Its cold outside

To celebrate the first snow fall, we talked about snowmen today. We started the day off with snowmen pancakes. They are really easy, make the snowman shape out of the pancake mix while on the griddle. Then add some chocolate chips (or raisins) before you flip it the first time. Put on the plate and add marshmallows for snow underneath, I added whipped cream snowflakes on the sides. You can also have bacon for a scarf or arms- but the kids didn't want that. 
 For Craft today, we made "baby, it's cold outside" cards. I started with the shapes all cut out. I also gathered glue, and sparkle paint. 
 The kids glued the circles on, in size order- biggest on the bottom, smallest on the top. Then added a scarf and hat. 
 Once it was all glued on, they painted on some "snow" with the sparkle paint. 


Tuesday, September 20, 2011

Fall Fun

I thought since I have a couple minutes, I would sit down and post about some of the things we have been doing.

We are talking about Fall right now, so this morning we made a fall colours collage. They are so easy, but let the kids use their imaginations, and inner artist!

First we ripped up a few pieces of paper- red, orange, and yellow. Then got some green paint and a sponge ready. Then we needed some glue and some brown paper to finish our masterpieces!

First the kids glued the ripped up pieces of paper onto the brown one.


Then we took a small amount of green paint and sponged it onto the paper when we were done.

And then we have our fall colours collage.


We were also able to get outside last friday and start collecting leaves for our halloween decorations. I am with everyone else, it is a bit too early for them, but we live in a condo complex, and they come and rake up our leaves. So, we have to get out and get them when we can. Since they started to fall already, we had to use our nice day and do it.

I bought the little ghost bags for the kids, and we made an activity out of it. First finding yellow leaves, then red, orange, brown and then green. The kids had a great time walking around trying to find the different colours!


Tuesday, September 13, 2011

Timid Turtle

(I have been on holidays, so crafts are starting up this week!!!)

With all the kids going back to school, some get really shy and upset. Others walk right in and don't look back. But, you know, with each and every one of them, they miss their families at least once through the day.

As I was going through one of the craft books I have, I saw a poem for Timid Turtle. So, I thought this would be a great idea. I changed how we did the craft around the poem, and of course, since I was on holidays, my camera was dead- I forgot to charge the battery when I got home. So, I have after pictures- not during.

First I drew out turtles on half a sheet of green paper. A BIG shell, then 4 legs, tail and head. I then cut out one big brown heart shape (so it fits on the back of the turtles shell), and a smaller pink heart. Then I cut up a bunch of brown pieces in all different shapes. I also cut out a family picture- to fit the shell.

I then wrote the poem on the big brown heart.

I first had the kids put glue all over the turtles shell. Then we added the brown pieces of small paper.

Once that was done, we glued on the family picture- on top of the "shell" pieces.

Then we flipped it over and glued the big brown heart onto the area of the shell. Followed by the little pink one.

The kids loved seeing their turtles! I put some packing tape over Danika's and tied it onto her school bag. I don't have a laminator so, using packing tape works well to keep it safe! Now, she will have her family where ever she goes...

The poem reads
"The timid Turtle said,"I don't want to go"
Mama Turtle said, "School is important you know"
Then she gave the timid turtle a special little heart
To show him how much she loves him whenever they're apart"


Friday, May 20, 2011

a star filled sky

Today we were playing with glitter glue. So, we decided to make a star filled sky. And there is no better place to watch the stars then on a camping trip.

I cut out shapes that you would see on a camping trip- triangle trees and tent, rectangle tree trunks, circle moon, stars, and I did do tear drops to put together for a fire- but we forgot to use them! Then I got the kids all black paper, glue, and glitter glue (to spread it around more we used a paint brush!)


The kids had a great time gluing their shapes on the paper to make a camp scene. With the younger ones, you can put glue all over the page and let them put the pieces on themselves!


Then have them squirt the glitter glue on (or if you are brave, apply the real glitter). After putting globs of glitter glue on, the kids spread it around with the paint brush!


After everything dries, you are left with a beautiful night sky to star gaze!