Thursday, April 14, 2011

Rain Umbrella's

Today, we made rain umbrella pictures. Taking some kitchen items and turning them into a great rainy day picture!

I collected everything we needed, crayons, muffin/cupcake papers, cotton balls, glue, tape, pipe cleaners (cut and rounded on the end), paper, and blue sprinkles (like the kind you would put on cupcakes!)


I cut the cupcake papers in half, then let the kids color them. After they were coloured we taped the pipe cleaners on them...


Then the kids spread glue all over their pages. Once the glue was all on, they put on the pulled cotton balls (clouds), and their umbrella's.


After they had placed their clouds and umbrella's, we added some glue to the tops of those, and made sure there was enough glue still showing for the "rain". Then we took the cupcake sprinkles (in blue) and shook them all over the page.


Then, you have a beautiful, shiny, rainy day picture!

Tuesday, April 12, 2011

Rain clouds

They say 'April Showers bring May flowers", so today, we made rain clouds (I think also in hopes that the snow in the forecast changes to rain!).

I collected everything we were using- paper cut into cloud shapes, paint, glue, and paper cut into rain drops.


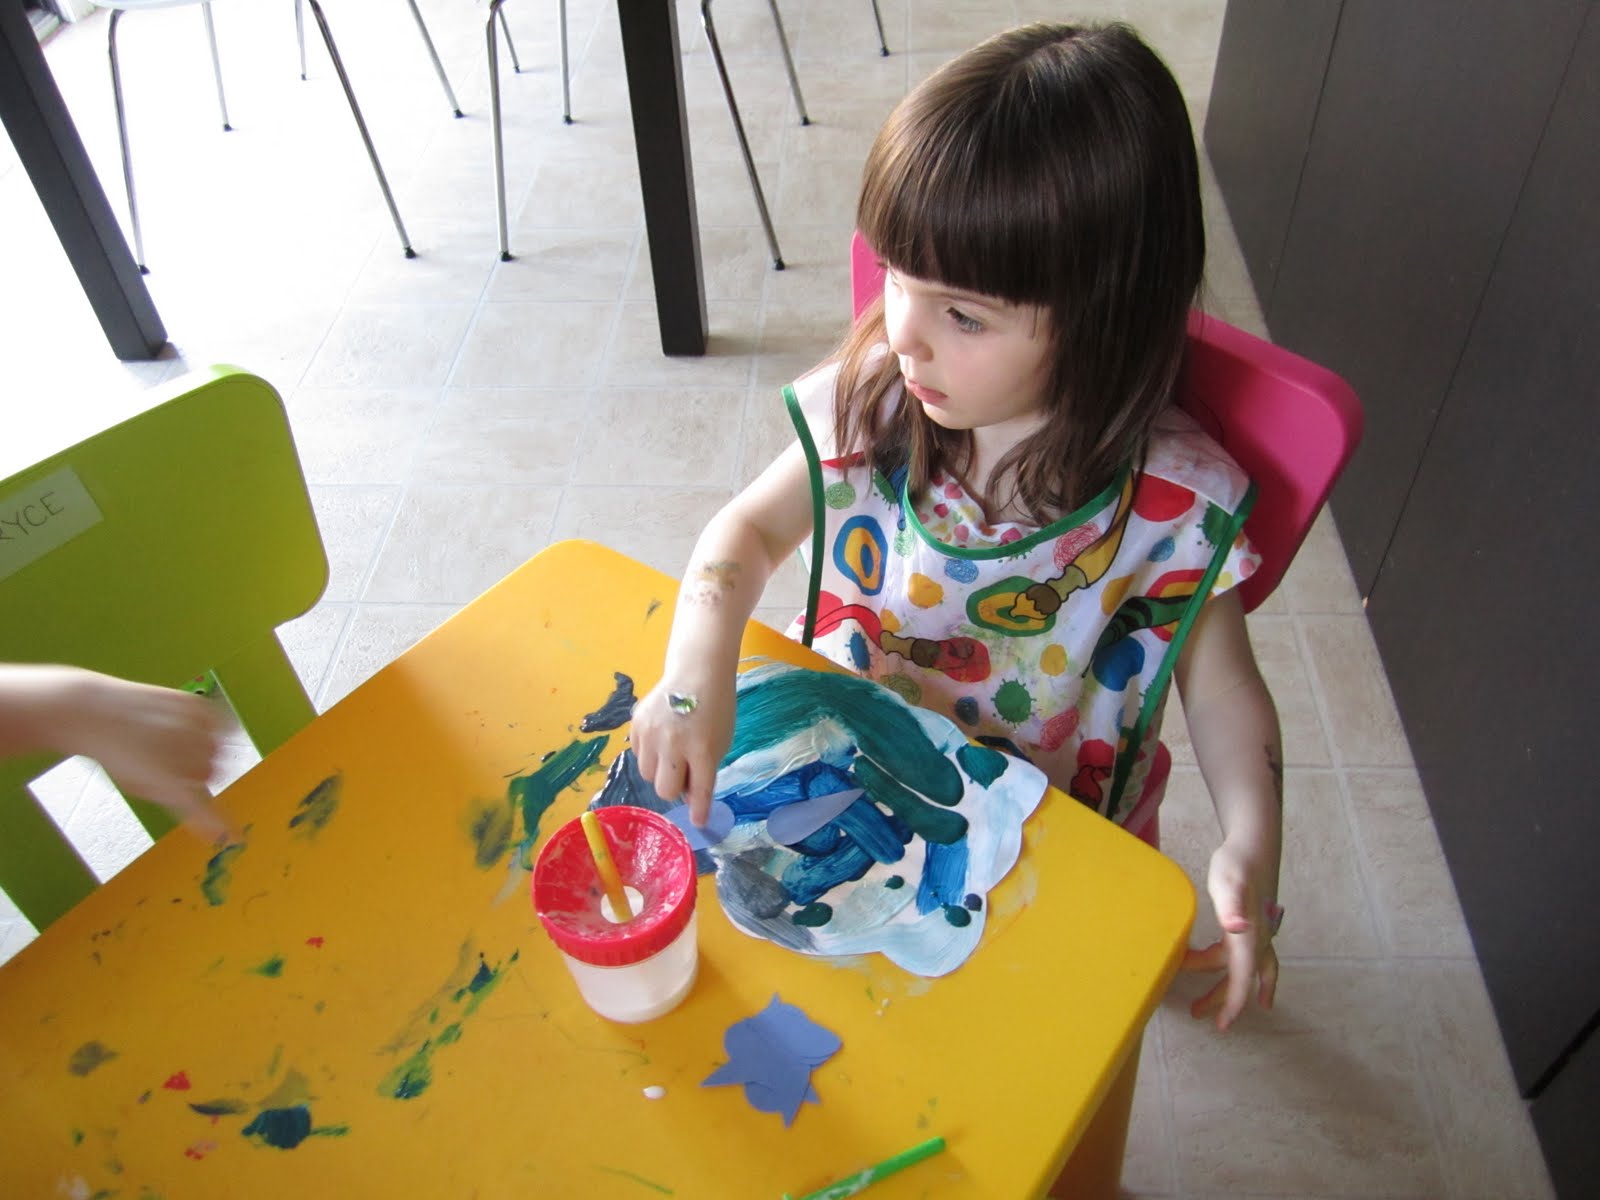
Then the kids painted their cloud


And then glued on the rain drops


And then we had our final product. (I may let the older kids add some sparkles if- and when they dry!)

Friday, April 8, 2011

2 crafts in one!

Today we ended up making 2 crafts in one! Since we have been talking about letters, and what letters are in each child's name, I decided to have them make a picture and then stick letter stickers- from their names, onto the picture. They turned out well, and actually turned into two crafts!

First I collected everything we needed. Paper, sponges (you could do anything for the picture), paint (I use finger paints when we do sponge painting, it is easier to come off and always ends up all over their hands! And the foam stickers- enough to spell out each child's name a couple times!


Then I put the paint onto a piece of cardboard for each child (so they all had their own paint, and wouldn't fight!)

After that, I gave them their supplies- paper, paint, and sponges, and let them go to it!


After they were done painting (with sponges and fingers!), I gave them each a pile of letters, all the letters of their names. I waited for them to notice these were letters from their names, and it didn't take long. Then we talked about the letters in each of their names!


When we were done, we had 2 crafts, little did they know. I kept their paint tray's (the cardboard pieces I put their paint on). It makes a great abstract piece, and holds up! And we had their letters in their name painting!


Both crafts may take awhile to dry- depending on the piles of paint! So, make sure you have somewhere to store it until it dries!

Thursday, April 7, 2011

Hatching chick

Today we made a hatching chick. Again, a fairly easy craft, but you could add anything you wanted to it.

First I gathered everything we would need. I cut the yellow paper into a chick coming out of an egg, and the white paper into an egg shape. I got markers and the clasp things (that I can't remember the name of right now- HAHA!). I also got together glue and scissors. You could paint these, add glitter or collage them, we just did markers for ease today!


Then I had the kids color the chick and the egg...


After they colored them, I cut the egg in two. Following the zig zag lines. Then had the kids glue the bottom piece to the bottom part of the chick paper. (I left that larger bottom on the yellow (chick) piece just to make this part easier for them.


And then we added the clasp thing (again, can't remember the name)- which attached the top part of the cracked egg, and lets it open and close, to see the chick! After they did that, I had them write their names, and the word Egg on it- since we are talking about Letters this week. They both did the letters themselves- not bad for being three and a half hey!

Tuesday, April 5, 2011

First letter of my name

We are working on letters this week. Today, we did a collage with the first letter of each child's name. First I collected everything we would need, paper- which I cut into each letter, glue, and pieces of scrap paper (and other scraps, like felt, lace etc).


Then I gave the kids the glue, and scraps. I held up each letter and asked "Who's name starts with this letter?". When they answered, I asked what letter it was, and what other things started with that letter. That got the conversation going about what things start with. So, we discussed starting letters while they decorated their letters!


And just because

Monday, April 4, 2011

Simple Crafts

Today, I don't have pictures- the battery in my camera died! But- the crafts we did today are simple. Simple enough just to explain what I did.

The first one we did (yes we did two because they were simple, and the kids were all in a crafty mood!) was a coloring picture. It is a picture of a bear cub jumping in a puddle, he has an umbrella and rain gear on. I got it out of one of the teacher books I have, but you could use any rainy type picture you have, or make. Basically the kids just colored this. But, while they were doing it we talked about rain, and how it usually rains in April. We talked about the phrase "April showers bring May flowers", and the letters that spell out April. (I wrote April on the top for them to color too!). You could also add sparkles to the rain and puddles, or glue cut out tin foil for the rain/puddles.

The second craft was easy too. We made Happy Easter signs. I have foam Easter stickers, regular Easter stickers, and got together pastel colored markers. The kids got to pick which color of pastel colored paper they would like to do theirs on. I then had them stick all of their Easter stickers all over the page. After they did that, I wrote "Happy Easter" and their names on the paper. Then asked them to write it themselves (the older ones). They looked at the letters I had done, and tried themselves. Both of them were very proud that they wrote Happy Easter! After that they colored their page with the pastel colored markers. One drew more Easter Eggs, and the other made homes for the bunnies on the stickers.

Sometimes simple things are great too! Sometimes all you need is paper, markers and imagination! (Stickers help too!)

Friday, April 1, 2011

Handprint Butterflies

Today, we made Handprint butterflies. This activity includes many of the things the kids love to do- trace their hands, color, glue, and paint! And they love watching the paint not stick to the crayon!

First gather supplies. I used white construction paper, black construction paper (cut out into the shape of the butterfly's head and body), a marker, crayons, glue, and paint- with supplies!


First we traced the kids hands- alternating for sides. Use both the left and right for each wing- but backwards. While looking at the butterfly, use the child's left hand for the bottom of the right side and top of the left side, and the right hand for the bottom of the left side and top of the right. Have the bottom thumbs stick down further! The older children can help trace their own hands!

Then have the children color the hands- making shapes, letters etc. Make sure you use WAX crayons and push pretty hard!


After they are done coloring their hands (wings). Use watered down paint to paint over them. Watch how much they put on their brushes, or they will become lakes! Make sure they cover the page, and talk to them about watching when they paint over the crayon!


After the lake- I mean the butterflies dry- cut them into wing shapes. Cut around the fingers- going in for the other hand, and going in at the bottom thumb- if that makes sense! LOL! Then have the children glue on the body.

Ta-Da- a BEAUTIFUL Butterfly!