Friday, August 5, 2011

Ice cream week

Again, two crafts in one, because I didn't get time yesterday to post!

Yesterday we did ice cream cones, but, about me ice cream cones. I got everything ready, cut out the circles for the ice cream- each child got three. Cut out the cone, and got the markers and glue. Then on each circle I wrote something. "My name is", I am" and "I like".


I filled in the blanks for the younger kids, and let them start colouring. The older ones I had them write their names, how old they are and then helped them write things that they liked. Then I had them colour and draw on their ice cream's!


After they were done colouring we used the glue to put them together!


Today we are making ice cream sundaes for snack. That was going to be our craft for the day, but I came up with an ice cream man puppet. So, we did that as well!

First I made all the pieces to make the ice cream mad- 3 scoops, a cone, eyes, nose, mouth and arms- oh and a cherry- for his hat! Then I found some toilet paper rolls, glue and markers. (You could also use glitter for sprinkles).

The kids started the craft by colouring everything- I gave them pink, brown and yellow- strawberry, chocolate and vanilla!


When they were done colouring, we cut all the pieces out, and started gluing our ice cream man together!


Then we put glue on the toilet paper roll, and put our ice cream man on that!


Then, once they are dry, you have an ice cream man puppet!!!

Wednesday, August 3, 2011

Two crafts

This week we were talking about ice cream. First we made Banana splits.

I let the kids cut circles out of white/cream paper, while I cut smaller pieces from red- for strawberries, and yellow- for pineapple, and cut the banana. Then I also made dishes for them. And got some brown paint ready- for the chocolate sauce!


First the kids glued the ice cream circles onto the paper. Then the strawberries and pineapple, and the banana!


Then we painted on the brown paint for chocolate sauce...


And then you have your banana split!!!
(sorry for some reason no final picture!)


Today we made rootbeer floats. I did these two ways, for older and younger kids.

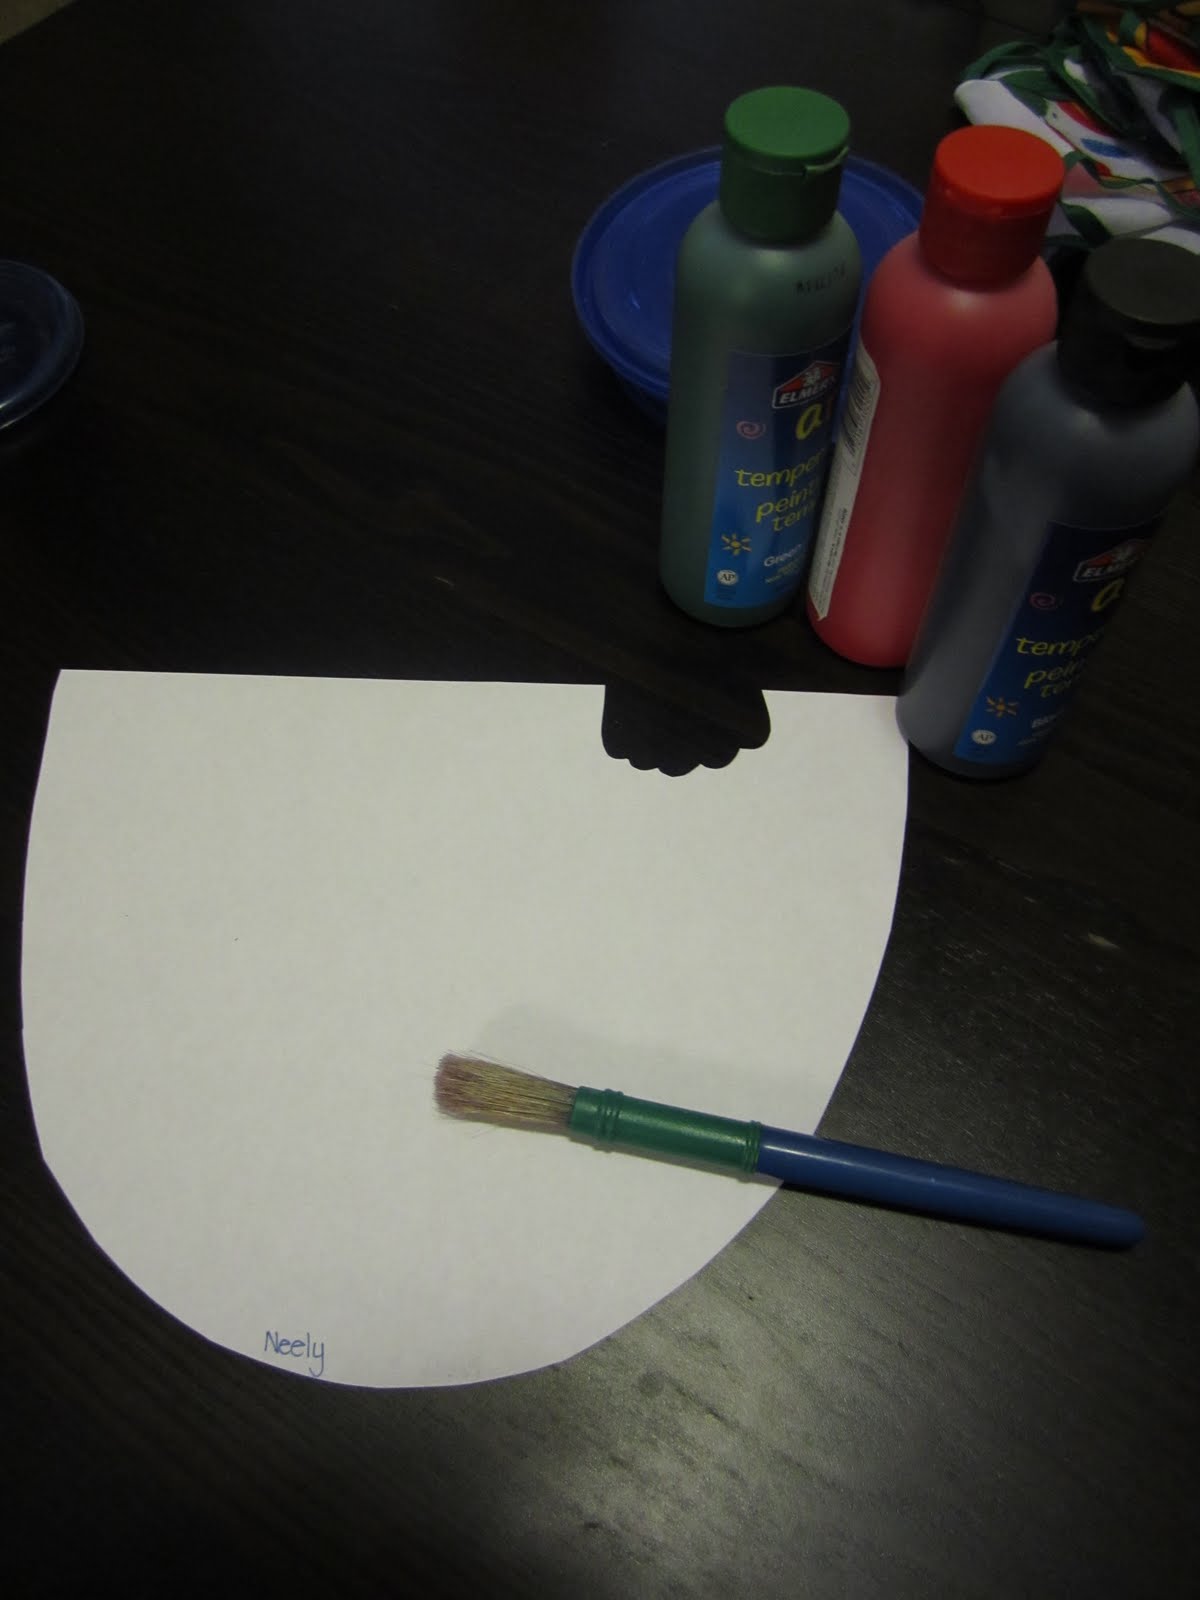
First I gathered what we needed- paper cut into a float glass shape, paint (which I mixed with bubble mixture to get it really bubbly! Cotton balls and straws- plus glue, tape and a paint brush.


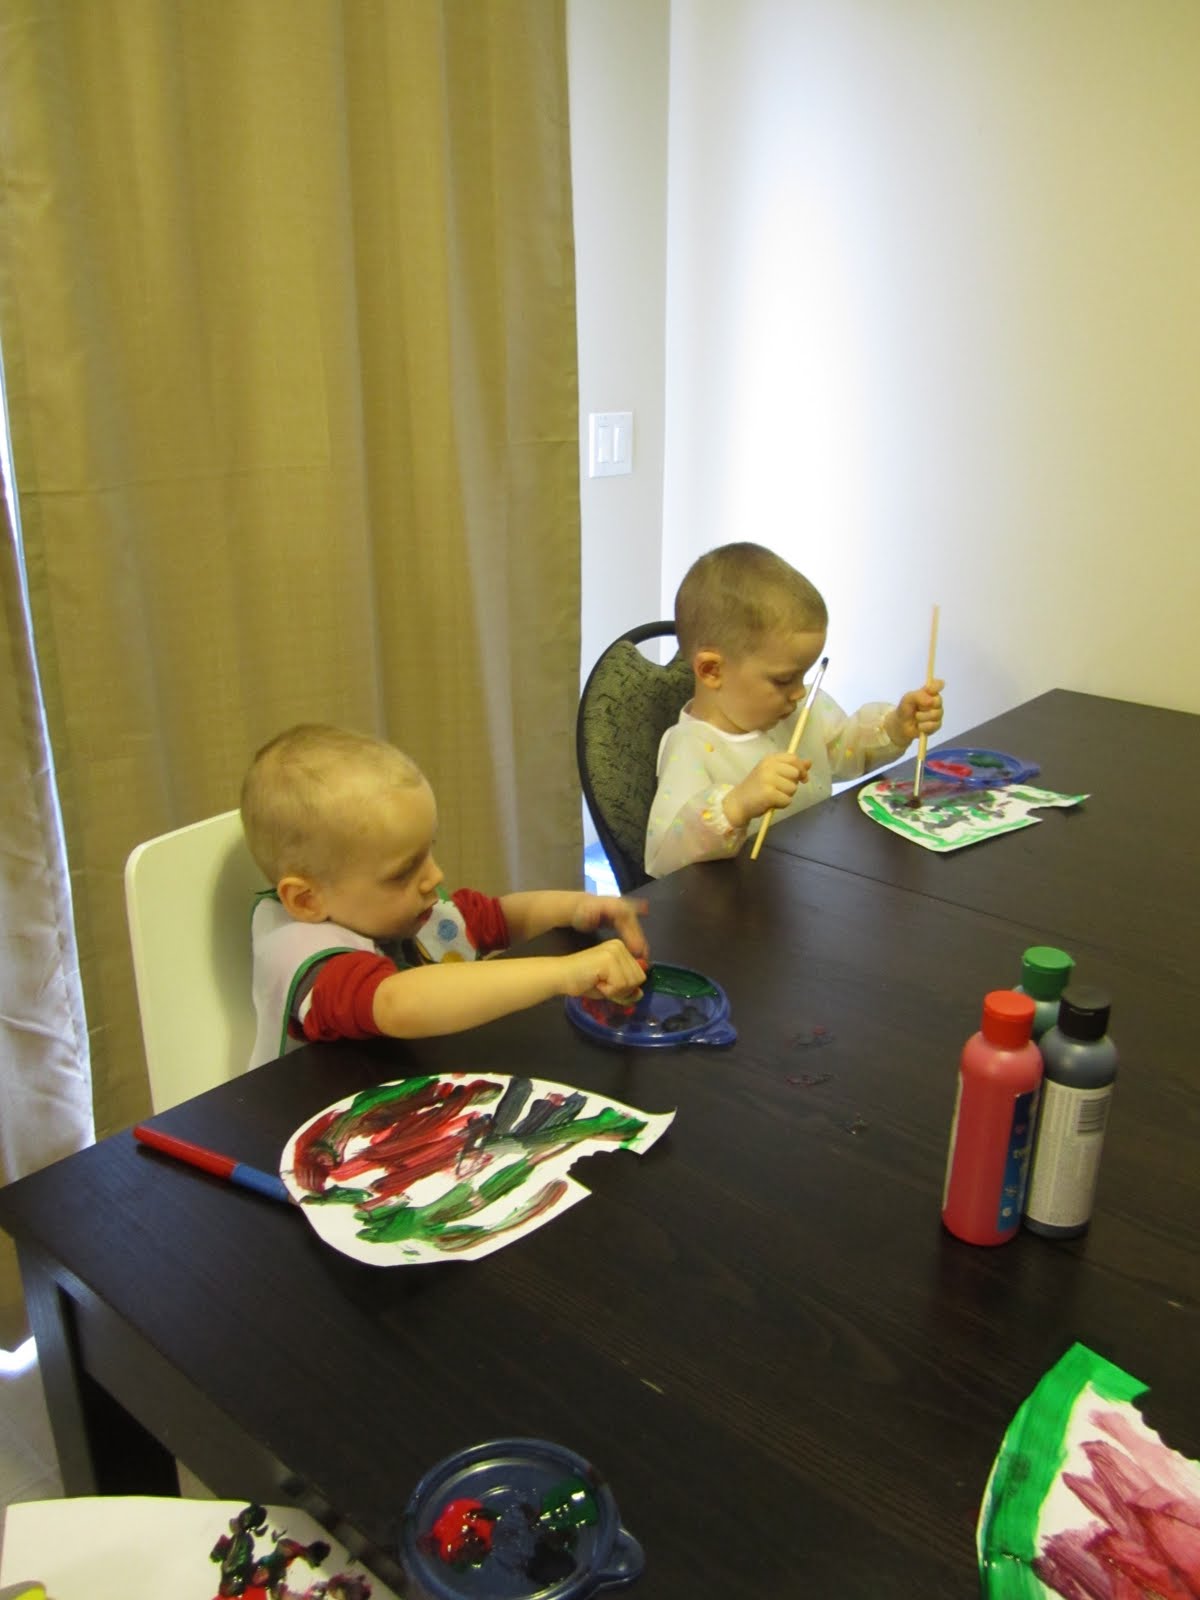
With the older kids, I let them use their straws to blow the paint around to cover the paper, and the smaller kids used the paint brush and stamped around the paper.


Then we pulled on the cotton balls and glued them to the top of the "glass" for the ice cream. After that we taped their straw to the top! Yummy!

Tuesday, July 26, 2011

watermelon

This week we are talking about summer foods. Today, we started with watermelon.

First I got things together. Cut out a watermelon shape. And got together red, green and black paint. Then I asked the kids to guess which summer food we were making.


Then we went to it- even the younger ones can do it!


I talked with the older kids and we talked about where the colours go- green around the edge for the "skin" (as they called it), red for the "juicy part" and then black seeds!

Wednesday, July 20, 2011

fun with paint

Today, we just had a fun with paint day. I got out the paints and sponge stampers (which you can make with sponge that you cut, or buy the shapes!). While the kids we stamping and painting, we talked about colours, shapes, numbers, and more! They loved learning about mixing the colours too!

While I have you all here, I wanted to talk about something close to me. The light the night walk. It is a walk to raise money for blood cancers. As some of you may know, I was diagnosed with Leukemia in 2009, and when my kids were 6 months old and 2.5 years. It was a horrible time, but thanks to research, great doctors and an amazing stem cell donor match with my brother, I am still around, and doing great.

Each year they hold a light the night walk http://www.lightthenight.ca/
My family and I have walked in this walk since before I was diagnosed, walking with my husbands cousin. We are raising money for the walk here...http://my.e2rm.com/personalPage.aspx?registrationID=1111969&langPref=en-CA&Referrer=direct%2fnone

And, if you would like, there is a scentsy party being held online until July 31--- here is the info...
The party will be OVER on Sunday July 31, so if you would like to order anything, please do so before then.

I have placed a couple orders, and I am so happy with the service, and the product. Just to give those of you who don't know what it is an idea- it is a wickless, safe way to have amazing scents that you would get from scented candles- but they last much longer, and have a better smell. I ordered the mid sized warmer pack- it came with 3 packages of scents. Each package of scents has 8 blocks in it- and I have had each of those last up to 2 weeks (and it smells in my whole house!). You burn one block at a time. So- the 3 packages will last a long time!

They also have other items- I have also ordered the room sprays, which I love. The scent packs- which I have in the bathroom, since I can't use the plug in ones (a friend has the plug in one, and LOVES it!). The scent packs can also be used in children's rooms with the scent buddy, which would be a great gift! I also have the scent tins, I put them in the car- and love those as well!

These items are great for you to keep at your house/car/bag etc. But also make a good gift, wedding, birthday or Christmas! This month, they are also doing bring back my bar- so there are scents that haven't been available in awhile!

If you are interested in placing an order, you can do so at https://scentswithjoy.scentsy.us/Home
If you are in Canada, just go to the top right corner and change the flag to the Canadian flag. Then- if you are in the US or Canada, you can click on Brianne's Brigade and then shop.

If you have any questions, please let me know. If you know others that are interested, or you think would be interested, please pass on the link! (or this email).

As for the donation part, the lady who is "hosting" the party, will be donating her commissions directly to Brianne's Brigade for the light the night walk. She makes 25% in commissions, and is donating all 25% of what is ordered (so 25 % of what you purchase will be donated).

The party can not be extended past the 31st of July. So, if you would like to order, you can do so before the 31st. This will give her time to get her commissions and donate them to the light the night walk before the walk.

thank you to all of you for reading, and enjoying the crafts that we do!

Tuesday, July 19, 2011

Handprint suns

Today was a beautiful summer day. So, we made handprint suns. These are super easy and the kids love making them.

First I got together the finger paint, finger painting paper, and a paint brush. Then I cut out sunglass, and hat shapes out of paper and got some glue.


Then we painted our hands with the yellow paint, and put them onto the paper. We did this numerous times around the paper in a circle- having the palms overlap!


Then the kids glued on the sunglasses and hat!


And then we had some sunny suns!

Ocean mobile

Last week, we finished the week making an ocean mobile. The kids tested my abilities on this one. To get started, I asked each of them what their 2 favorite ocean creatures were. I was told a star fish, fish, shark, octopus, turtle and sea horse! So, yes, I drew all of those out, as well as a base circle! Then I collected everything else. Markers, pipe cleaners, string, scissors, and a hole punch (you could just tape it together as well).


The kids decorated the ocean creatures...


Then we punched holes in the circle and the creatures. Then placed the pipe cleaners through the circle and added a string for hanging!


After that was done, we tied strings to the animals, and tied them onto the ends of the pipe cleaners. Then, they could hang them up for a nice ocean mobile!

Tuesday, July 12, 2011

Grabby Crab

This week we are talking about sea life. Today, we were talking about crabs. So, we made "Grabby Crab"!

To make a grabby crab, you will need paper in the shape of a crab (or a circle)- we used finger paint paper, but you can use a piece of red paper, or if you want to colour or paint it use white! If you are painting, you will need the paint and supplies- we finger painted! You can draw the face on, or let them. Then to the side of the face you will need to punch two holes. Then you need 8 popsicle sticks, we have red ones so we used those, but you can use regular and paint or colour them red. You also need clothes pins- we had regular ones, so we also needed markers to colour them. Then, you also need red pipe cleaners and tape!


First, I let the kids finger paint the crab shape...


Then we coloured the clothes pegs...


After the clothes pegs were coloured, we put on the pipe cleaners. Insert the pipe cleaner into the spring part, and then twist. After that, do the same thing in the holes in the crab (to attach to the crab)


Then it is time to attach the rest of the crabs legs- put tape on the popsicle sticks, and tape them to the back of the crab.


Then you have a grabby crab!