Wednesday, July 6, 2011

Chuck wagon

YE HAW!!!

Chuck wagon's were on today's agenda!

To make a chuck wagon you need a box- we used the small cereal boxes (if you want a bigger chuck wagon you can use a kleenex box!)- make sure the box is not too flat. I covered the boxes with white paper. Got the paper ready for the top of the wagon- make sure it fits to make the dome! Then cut wheels, and got things ready for them to decorate with- markers, stickers etc. I also cut a piece of string, long enough for them to be able to pull the chuck wagon!


I first let the kids colour the wagon part...


Then I let them colour the top of the wagon and add the stickers to that...


Then we taped on the top of the wagon on. I put tape on either side of the paper, and we taped that onto the tops of both sides of the box...


After the top was taped on, it was time for wheels...


Once the wheels were on, we taped the string on, so they kids could pull them, and have chuck wagon races! I find that if you put a knot in the string, and then the tape, the string doesn't pull through the tape when it is pulled!


Then we have our chuck wagons, and are ready to race!!!


You can make these into any type of vehicle, and use anything to decorate them- just remember if you are doing some sort of top- make sure whatever you decorate with isn't too heavy!

Tuesday, July 5, 2011

cowboy hats

Stampede starts in Calgary this week. So, we are going to be doing some stampede/cowboy related crafts! Today we did some cowboy hats. They are really easy, and can be done by all, and can be decorated in many ways!

To do this craft, you need the hat shape- in our case, cowboy hats! Then strips of paper to make the head band. Tape to stick the head bands together and what ever you want to decorate the hat! We used markers, crayons, feathers and a sheriff star. I made the sheriff star out of a foam sheet.


Then the kids coloured their hats, while I was making the bands by putting two of the black strips together with tape, and then measuring each of their heads- and securing it with tape. (remember to put each child's name on the band, so you don't forget who's is who's since they will be different sizes!)


After they were done colouring, we started decorating- gluing on the star and feathers.


When those were dry, we taped them onto the head bands.

Monday, July 4, 2011

Caterpillar

This is a great recycling craft! You use your old egg cartons. Just make sure if you are using the styrofoam ones that you use permanent markers or crayons because washable markers and paint will come off!

First I gathered everything we needed for the craft- the egg carton (you can cut them to smaller sizes if you would like, but I just had the two kids, so they each got a 6 piece caterpillar!), paint, pipe cleaners, glue, and googly eyes. (the glue and googly eyes are not in the picture!)


The kids had a great time finger painting the egg carton!


After they were done painting them, we glued on the eyes, and put the pipe cleaners in! I cut two small holes on the top of the caterpillars head, then once they put the pipe cleaner in, we bent them back a bit (you could tape them too).


Then we let them dry! They could take awhile depending on how much paint the kids put on them!

Sunday, July 3, 2011

Canada Flag

Celebrating Canada Day, we made Canada flags with our hand prints!!!

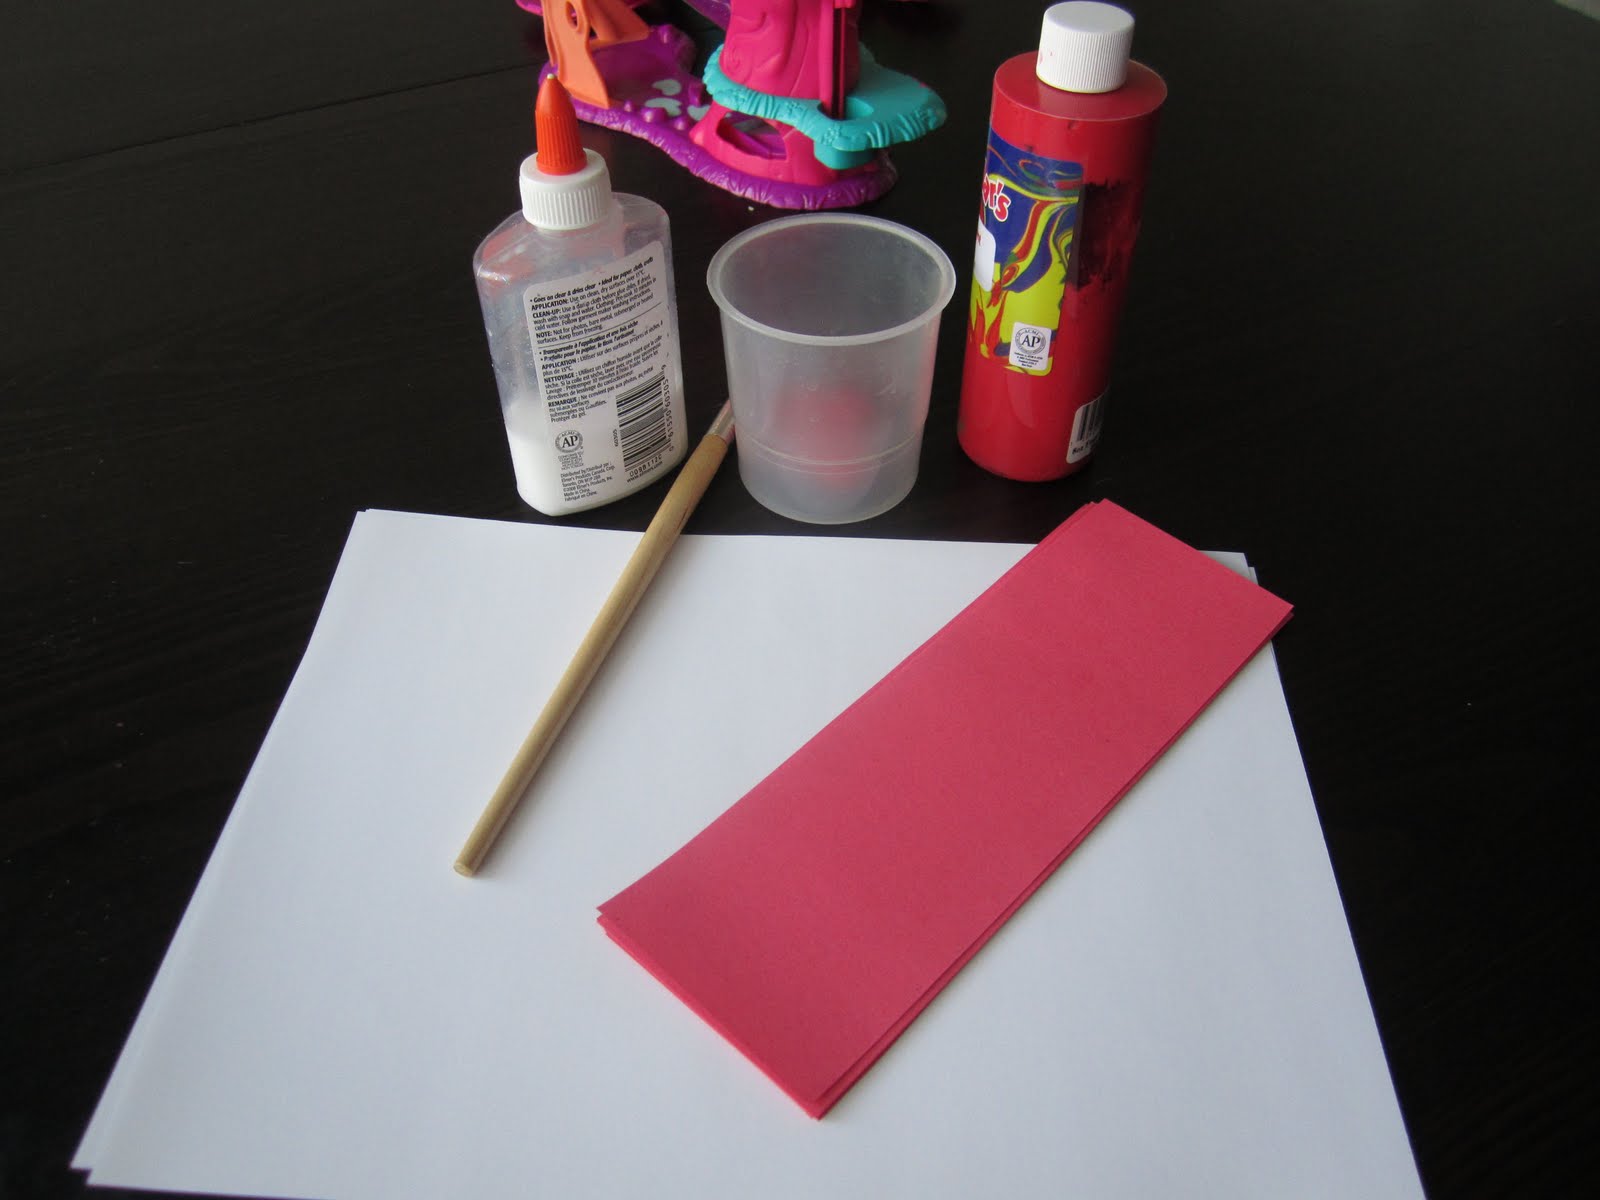
First I got together everything we needed. A piece of white paper (we used finger paint paper, but any white paper will do), and 2 strips of red paper, red finger paint and a brush- plus glue! The kids can cut the red strips too!


Then we glued the red strips onto the sides of the paper!


And then painted our hands red...


And then we had our flags!!


You can do things like this with any flag. For the USA one, you could cut strips of red paper, and a blue square. Glue them onto the white paper and have the kids use white finger paint and their fingerprints for the stars!!!

Happy Canada Day- and Independence Day!!!

Wednesday, June 29, 2011

Today we did Canadian Flags. These are easy and fun for the kids to make!

First I gathered everything we would need. White paper (we used finger paint paper- but any white paper will do), cut strips of red paper, red finger paint, and glue


Then I had the kids glue the strips of red paper onto the sides of the white paper.


After that, we painted one hand red- for the maple leaf!


And then we had our flags!!


You could do this with the American Flag as well (or other world flags). With the American flag, get the kids to glue strips of red paper onto the white paper, and then a blue square in the corner. Then they could use white finger paint and put their fingerprints on as the stars!

Tuesday, June 28, 2011

Happy Canada Day

This week we are doing Canada Day crafts. Today we started with a wreath for the door (or where ever!).

I got everything ready by cutting out a circle, you can do this with paper, cardboard, construction paper etc. Then cut a smaller circle out of the middle of that! After that is done, cut out 2 maple leafs per child- one large enough to fit in the centre of the circle, and the other small enough to fit on the beaver. Yes- Beaver- then draw and cut out a beaver!

The I collected our items to decorate- the kids wanted to colour their pictures today, but you could use piece of red paper- like a collage, paint, markers etc. We needed tape, and a piece of string as well!


Then I explained that Friday is Canada's birthday. And that on our flag we have a maple leaf- which is red. And that our Animal is a beaver. We then coloured the circle and the leafs red, and the beaver brown.


Then we used the tape to tape the beaver onto the wreath, then the small leaf onto the beaver, and then with string, we attached the larger leaf in the middle of the circle.

Tuesday, June 7, 2011

Fathers's Day crafts

So, this past week, we have been working on our father's day crafts. I thought I would share some here, to give some idea's for Father's day.

We started by making day out tickets. First I cut a ticket shape out of paper, and then had the kids draw/color things on it that they like doing with their dads, things that they could do on a special day with just dad!


Then we made Finger paintings for them. I wrote World's Best Dad, or #1 Dad on finger paint paper, and let them go at it!


We also made frames for the finger paintings. I cut the frame part out of paper, and then a bunch of different colored shapes from other paper to make a mosaic.


We also made our dad's pencil/pen holders for their desks. We used baby food jars, but you could use toilet paper rolls, cans, things like that. I cut solid colored pieces of magazine paper (ripped out of an old magazine). Then mixed brown paint with glue and water. Then we used the brown glue mixture to glue the papers to the baby food jar. Then added another coat on top. Giving it a faux leather look to the pencil jar!

(the last/finished picture they are still drying, so they are upside down, because that is the easiest way to let the kids do it- put the jar on a piece of paper upside down and give them the paper and brushes!)


And today we made the cards for our dad's. I wrote different poems about dad's and children on the front of a folded card. Then inside, I helped them make a heart with their foot prints. I painted each child's feet- and if you do them "on the wrong foot/backwards" you will have a heart. Think left foot on the right side, and right on the left side! Once those dry, the kids can decorate the cards with markers, stickers, etc! And the older ones can write their names!


And, for a gift bag for all of our gifts for Dad, we will be coloring, and decorating paper bags!

Happy Father's Day to all the dads out there!